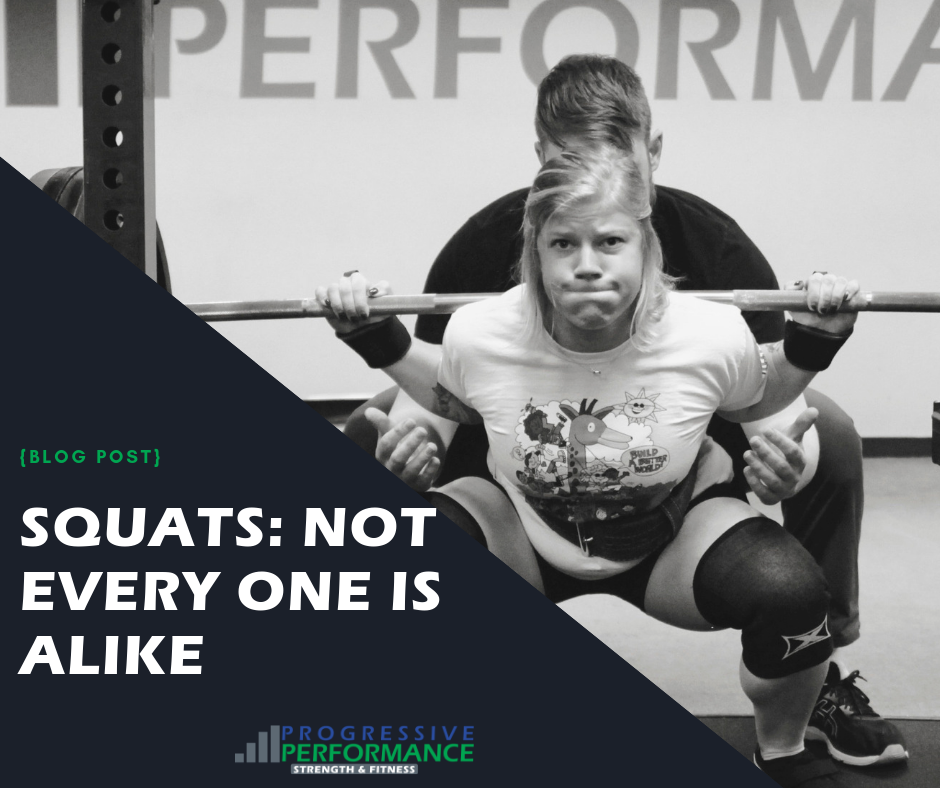
Have you ever wondered why when everyone in the gym is squatting, each squat set up and execution looks slightly different? Why does the person under the bar next to you have such a wide stance and their toes turned out? Or, perhaps you wondered why you can’t quite seem to sink your posterior down to your heels?

The Squat is a quintessential exercise in every athlete’s toolbox but the variations in set up and execution will be as unique as the person squatting. It comes down to our bio-mechanics, and willingness to test and try what will work best for you.
Table of Contents
ToggleWhat is the best squat stance for you?
Let’s talk anatomy! Specifically, the hips – the shape and position of the socket, and how our femur is positioned at the hip socket is what will determine how you will best squat. The shallower your hip socket is, the higher the likelihood is that you can perform a squat with a narrower stance with toes pointed forward. If you have a deeper hip socket it is pretty unlikely that you can squat narrow.
We tend to see shallower hip sockets in people of Eastern European and Asian descent, whereas Western European populations are more likely to have deeper hip sockets. So, if you’re familiar with your family’s ancestry, you might already have the first clue to determining your best squat stance.
3 Simple Tests to Help Determine Your Ideal Squat Stance
In the article I read recently from Dean Somerset (linked here for deeper reading), he offers 3 simple tests that can also help you to determine the squat stance that suits you.
- Supported Squat
— Hold onto something solid (couch, door frame, squat rack), and with feet hip width and toes slightly angled out – descend into the squat as deep as is comfortable. Once there, move one foot wider and angle the toes out further – see if that allows you to descend even deeper (while maintaining proper back positioning) into your squat. You want to find the stance width & foot angle that allows you to get the deepest into ‘the hole’, while maintaining proper back position and stability if you were to let go of your solid support.
2. Hip Bridge
— Laying on your back, press feet into the ground and raise up your hips as far as possible without allowing the low back to hyper-extend (excessive arching is a no-no).
3. Goalie Stretch
— Start in the quadruped position, and then slide your knees away from each other as far as is comfortable. You’re going to send your glutes back towards your heels, making sure that your back doesn’t round in the process. If you’re finding that your back is starting to round, then bring your knees in a bit.
Tests 1 & 3 are the most useful for understanding where your feet should be set up in preparation for the squat as an individual. You’ll be able to feel what is the easiest and more comfortable position for your stance width and toe position, while also maintaining proper back position and stability for the movement.
At Progressive Performance, we utilize one other test to see what is your ideal squat stance – you may have recently seen the Facebook Live video we covered the topic.
The test is simple, you perform three vertical jumps (one right after the other), and after the third jump look down at your feet. Notice the angle at which your toes are turned, and the distance between your feet. This is where your body bio-mechanically feels powerful and stable. It’s a great jumping off point for building your individual squat stance (Pun definitely intended).
If you are unsure about your squat stance try these tests and see how it goes. You can always play around with your stance while getting ready to squat and warming up to see what stance feels best.
Keep in mind that not everyone is going to be able to squat all the way down. Some people can only safely squat to parallel and that is ok but be mindful of how your hips, back, and knees are feeling along the way.
Happy squatting!


